Terraform Azure VM 创建指南

VM OS disk setting
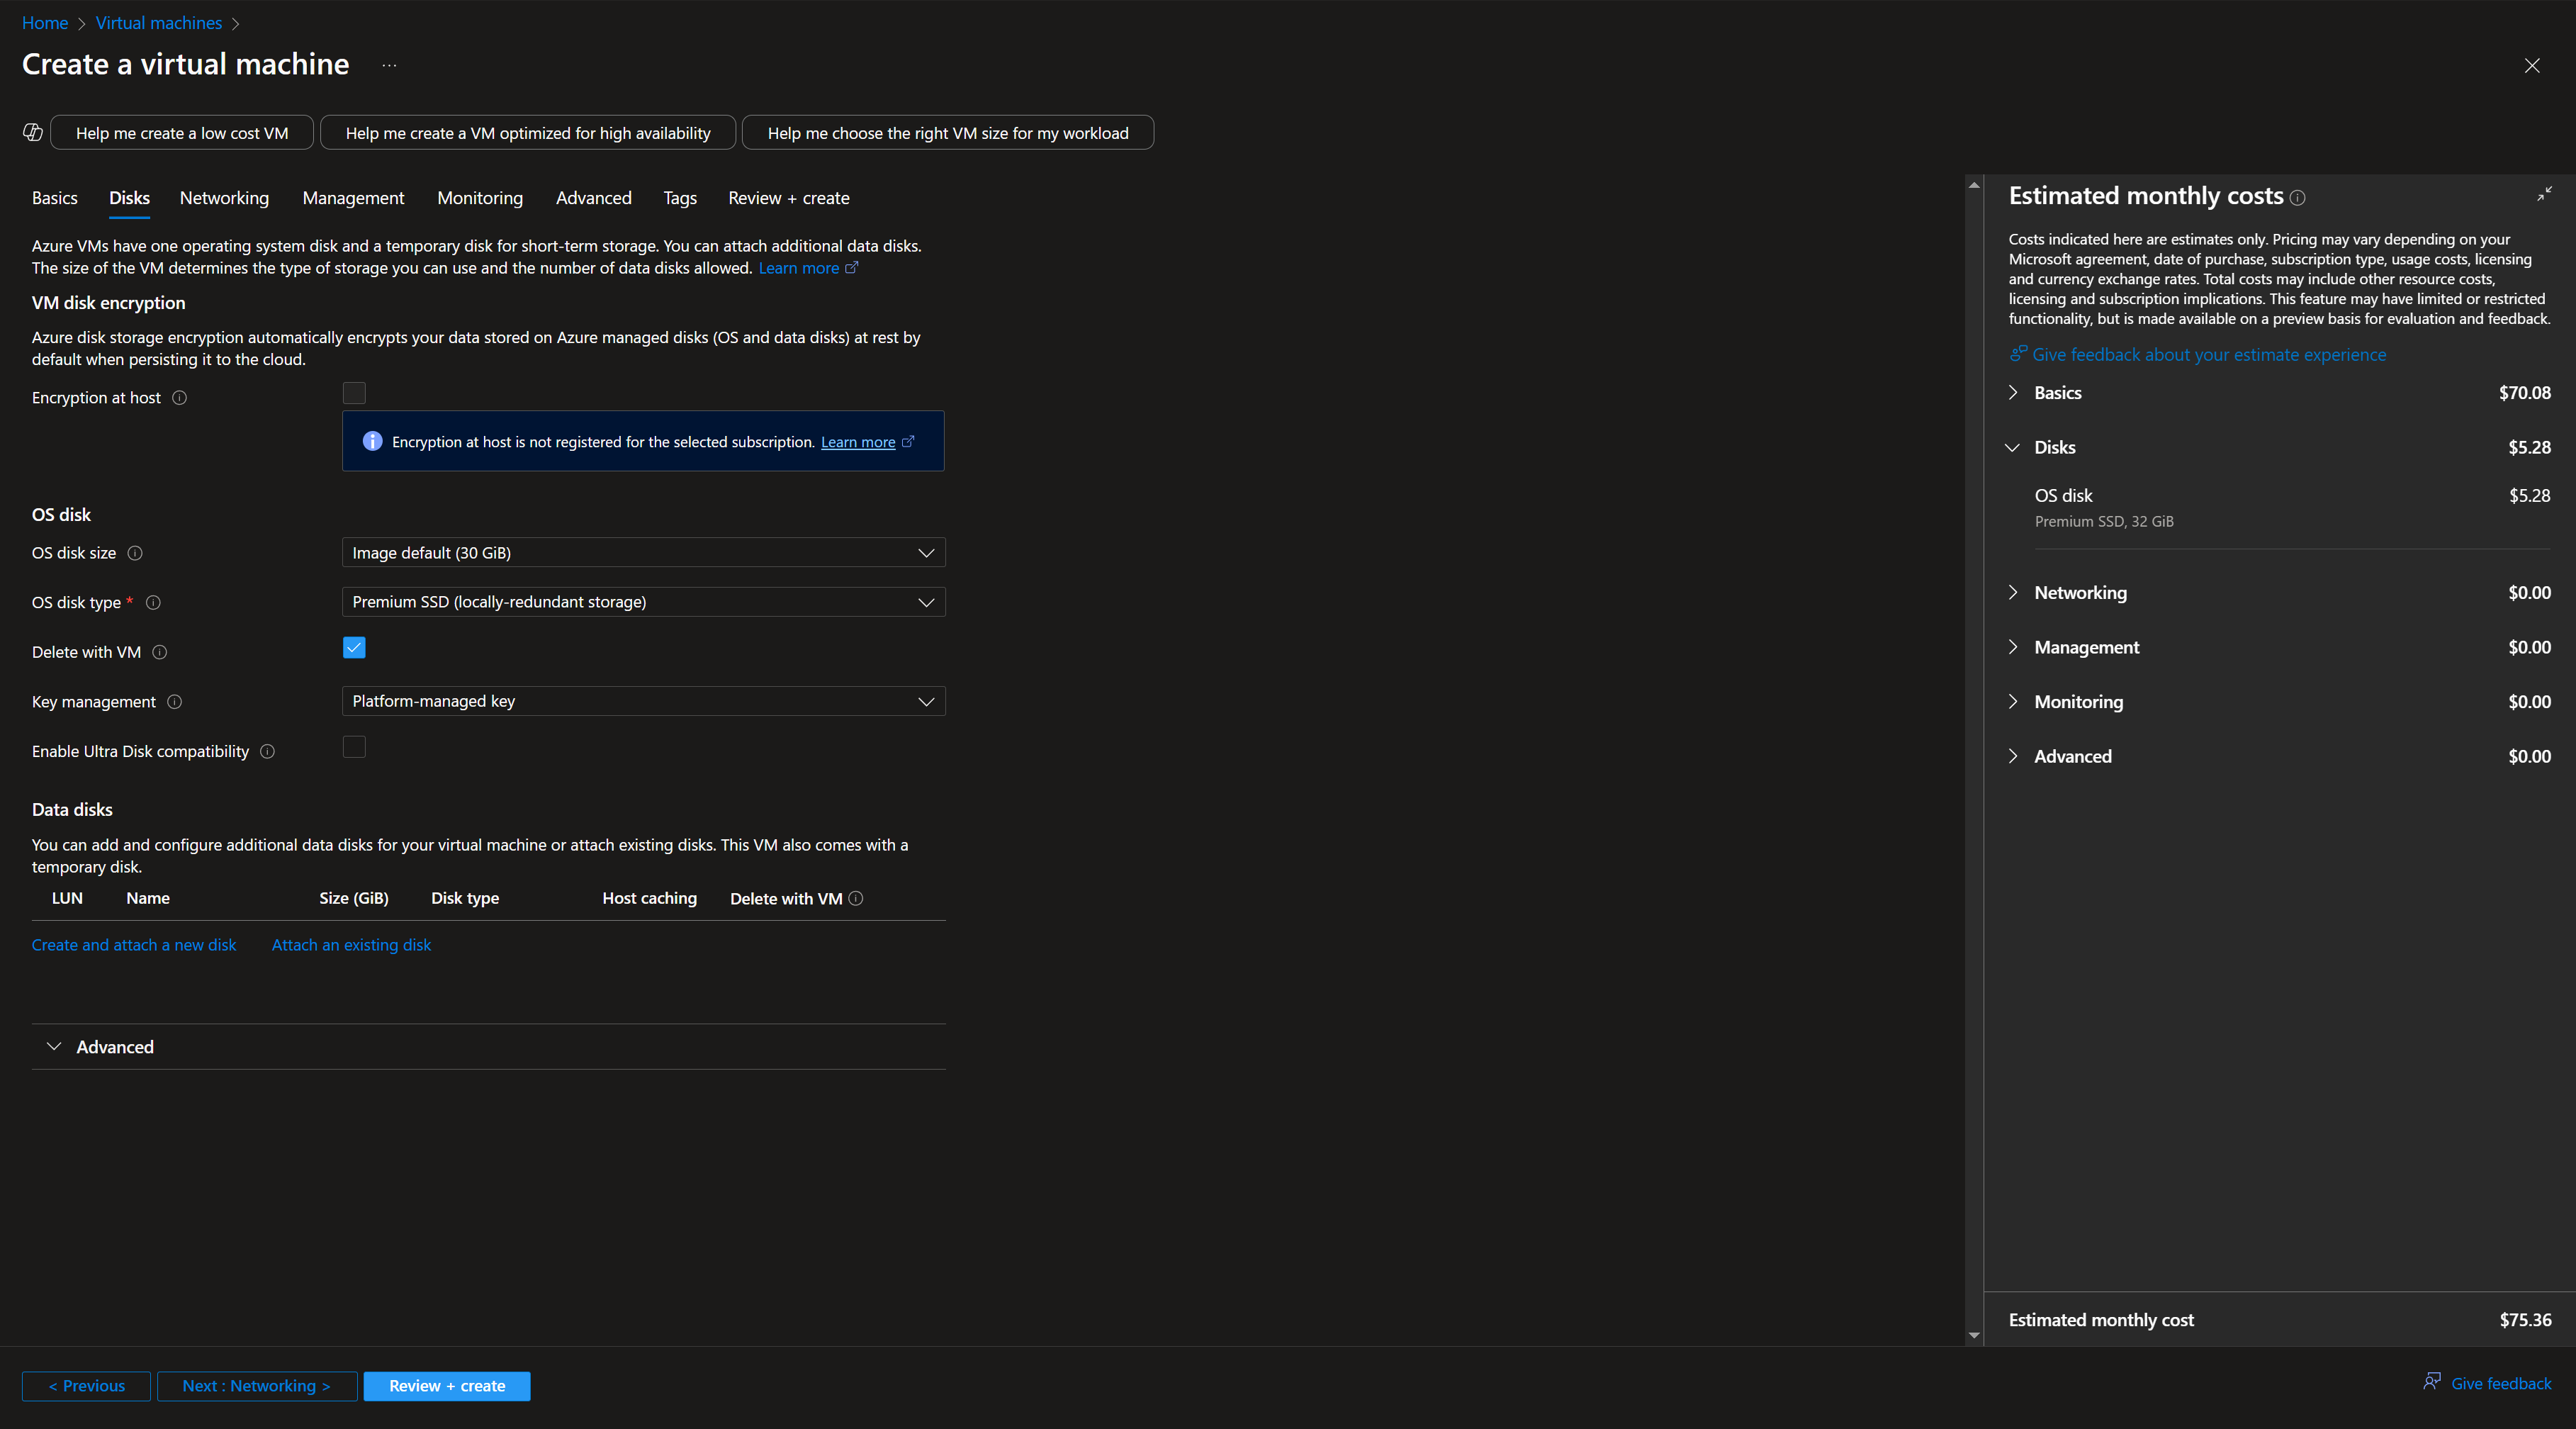
当我们使用 terraform 创建一台 vm 的时候,会发现 os_disk block 是必须要选择的,实际上对对应的就是 Azure portal 创建 virutal machine 界面的 disk 部分
根据这篇terraform 的文章 azurerm_linux_virtual_machine | Resources | hashicorp/azurerm | Terraform | Terraform Registry
这个 os_disk block 存在2个必选项 caching storage_account_type
caching
关于 caching 在 Azure portal 上面指的是 Host caching
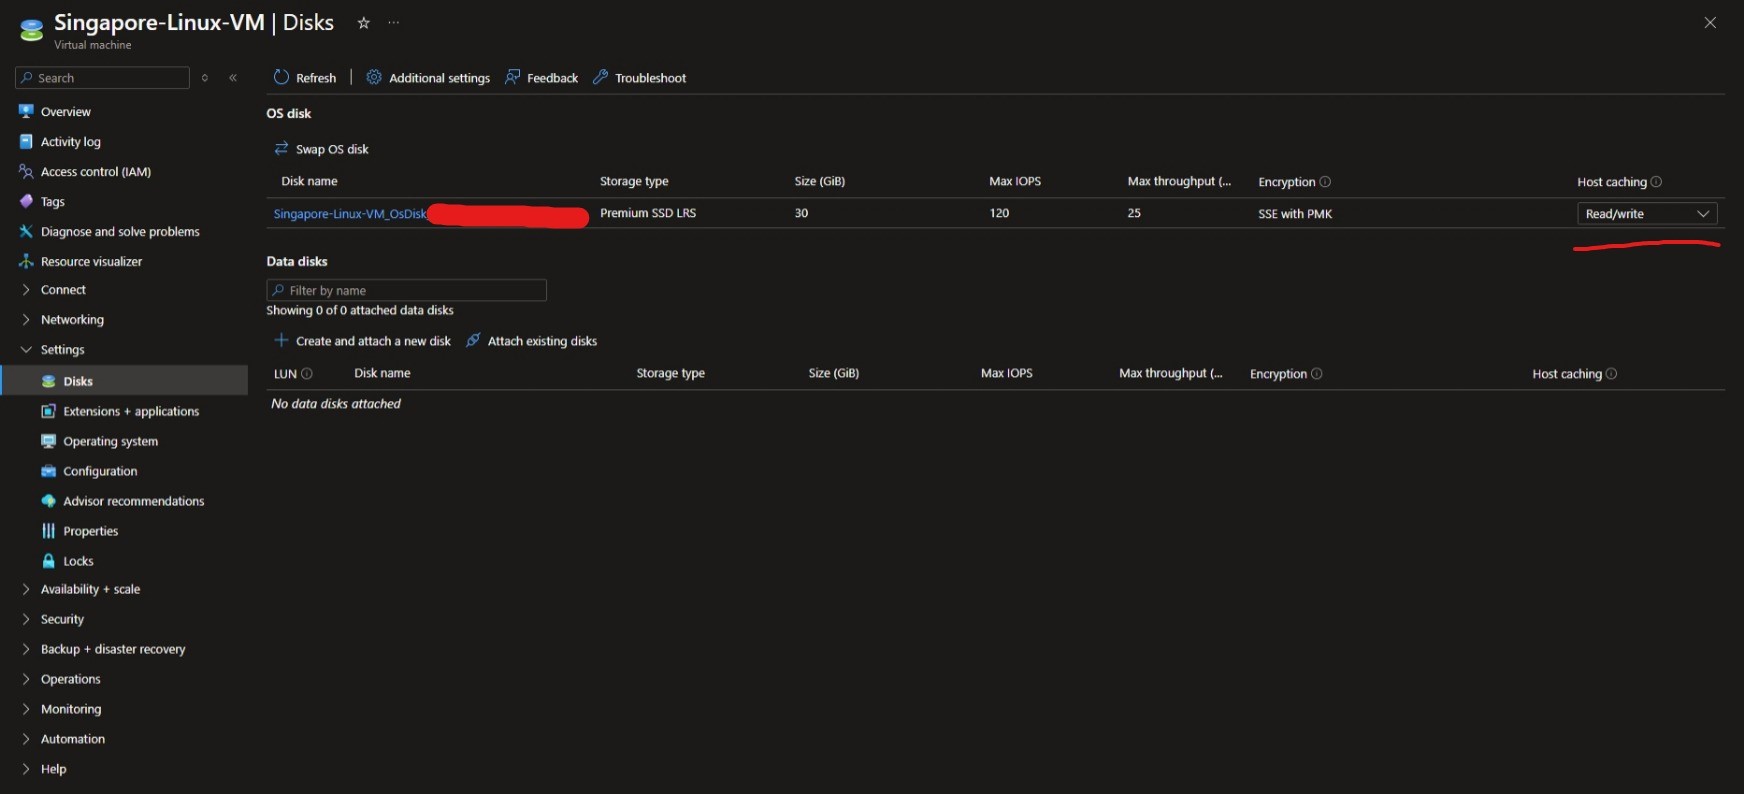
在 Portal 创建 Azure VM 的时候系统盘无法指定,但是 data disk可以指定

关于Azure VM Disk的具体内容可以查看这篇文档
用一句话总结3个option的区别:
- ReadOnly:缓存只加速读,不管写。
- ReadWrite:缓存加速读和写,但有风险。
- None:不用缓存,慢但稳。
storage account type
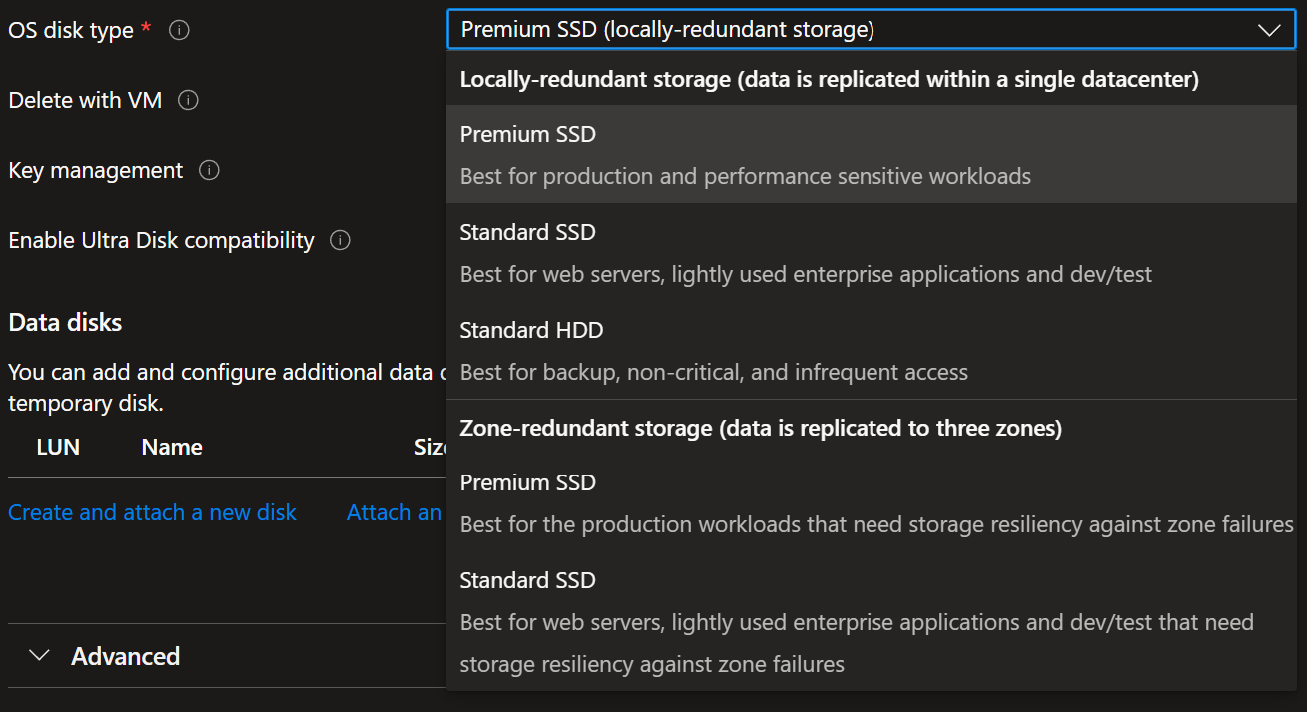
而关于 stroage_account_type 部分实际上就是 OS disk type
storage_account_type- (Required) The Type of Storage Account which should back this the Internal OS Disk. Possible values areStandard_LRS,StandardSSD_LRS,Premium_LRS,StandardSSD_ZRSandPremium_ZRS. Changing this forces a new resource to be created.
所谓的 LRS 就是 local redundant storage, ZRS 就是 zone redundant sotrage
关于默认的磁盘大小
因为我们实际上没有设置磁盘大小 disk_size_gb 所以会使用默认的大小
在Azure中,当你创建一台虚拟机时,如果未指定操作系统磁盘(OS Disk)的大小,默认大小为:
- Linux 虚拟机: 30 GB
- Windows 虚拟机: 127 GB
但是实际上感觉默认的也够用了对于 Linux 和 Windows 的话
Vm image
在 Azure terraform 中 image 的确认由4个属性构成
1 2 3 4 5 6 | |
为了得到这里4个属性,可以使用命令 az vm image list --output table 可以看到部分选择最多的 image

如果想看全部的 image 的话需要加上 --all 参数
1 | |
但是这个命令会运行很久很久,这个时间根本就不是正常人可以等的
可以去到这个 Azure VM Image List 上面查看所有的 image 本质上还是去运行这个命令,但是它会快上很多
有一个反向的方法,可以从已经创建的 Azure VM 中提取到这些信息
使用 az 命令
1 | |
output like
1 2 3 4 5 6 7 8 9 10 | |
可以从中提取到这些信息
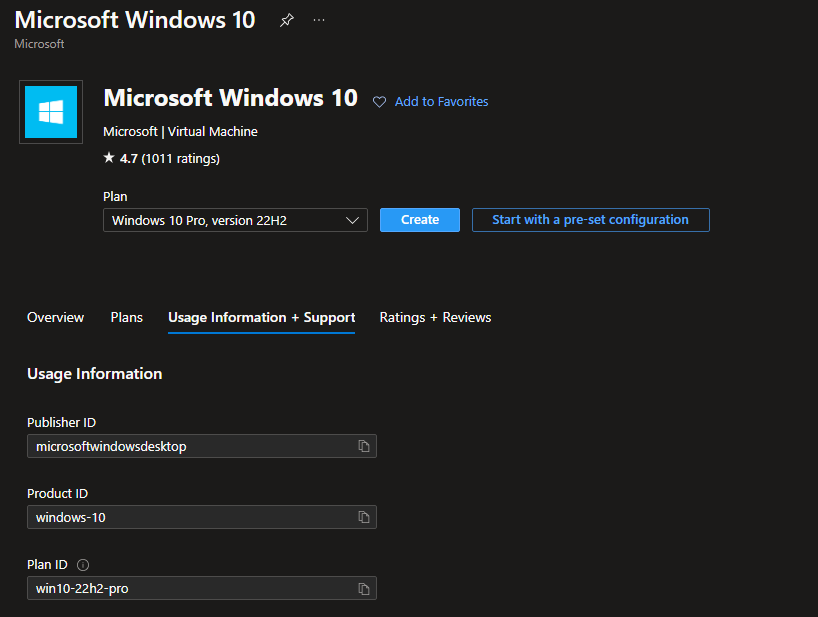
MarketPlace
可以到到 Azure marketplace 稍微可以看到一些信息,比如说 publisher ID, product ID 这 2 个小大写可能对不上
不过可以将某些关键字放在 Azure VM Image List 网站进行搜索,在结合一下 grok3
Arm template
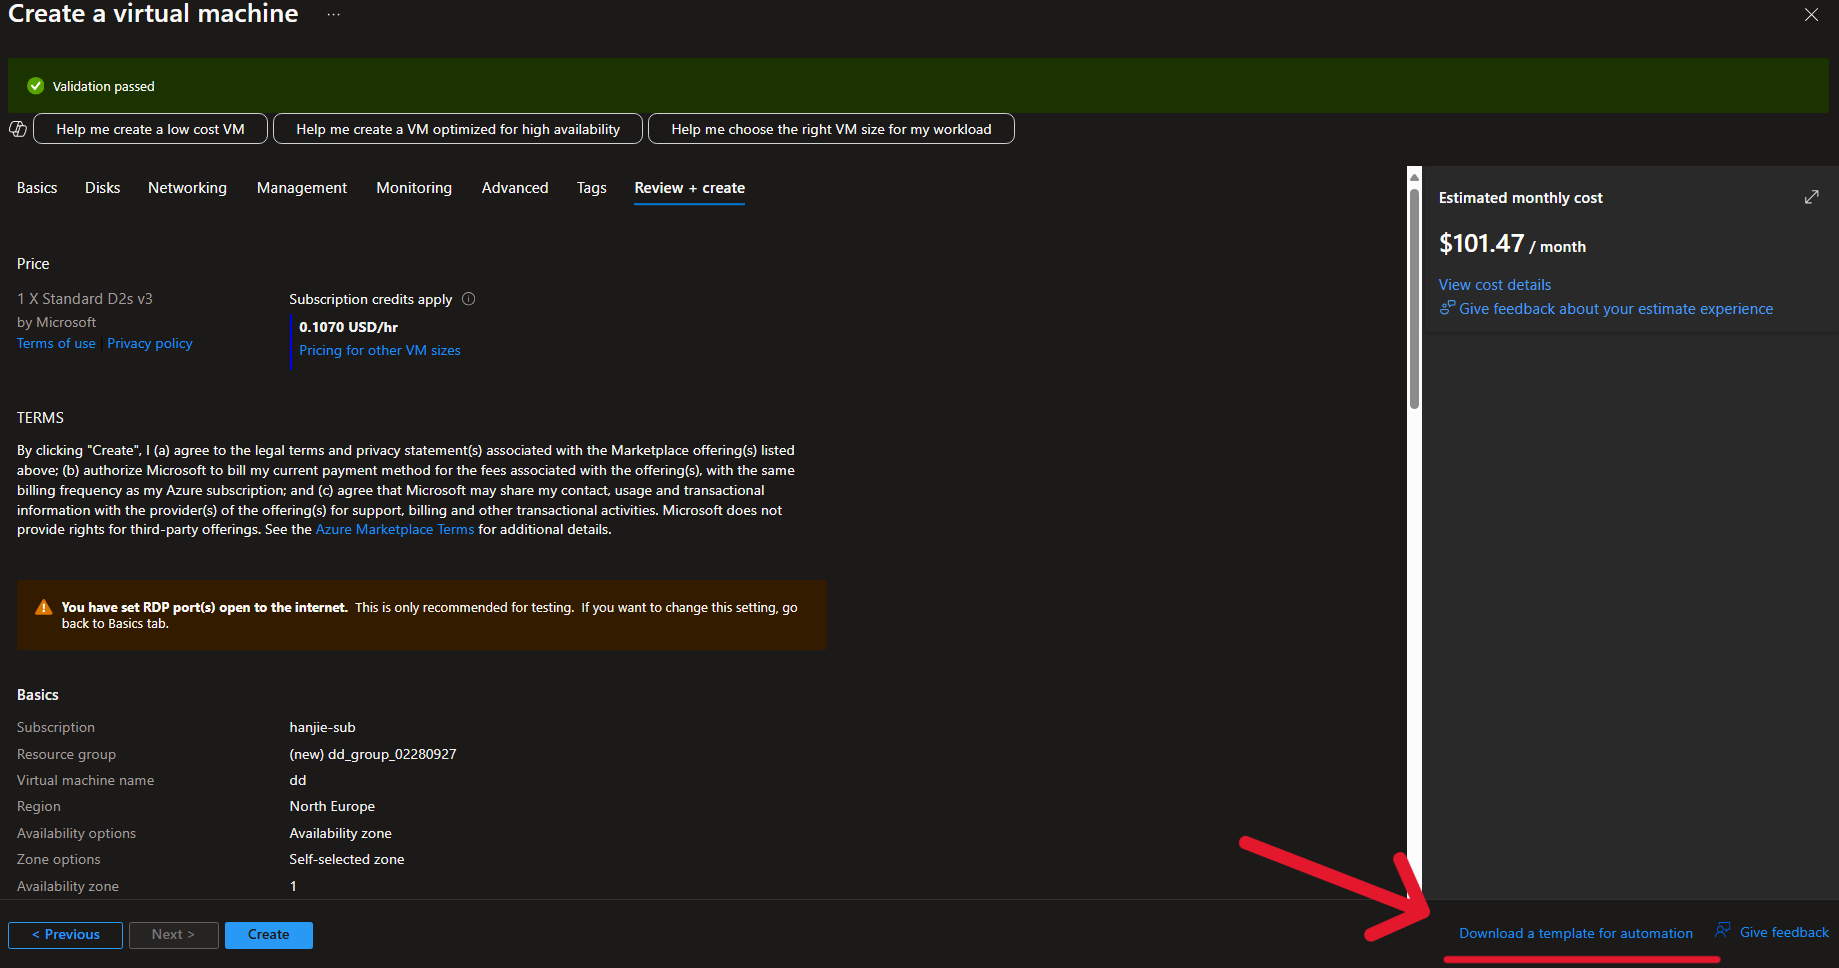
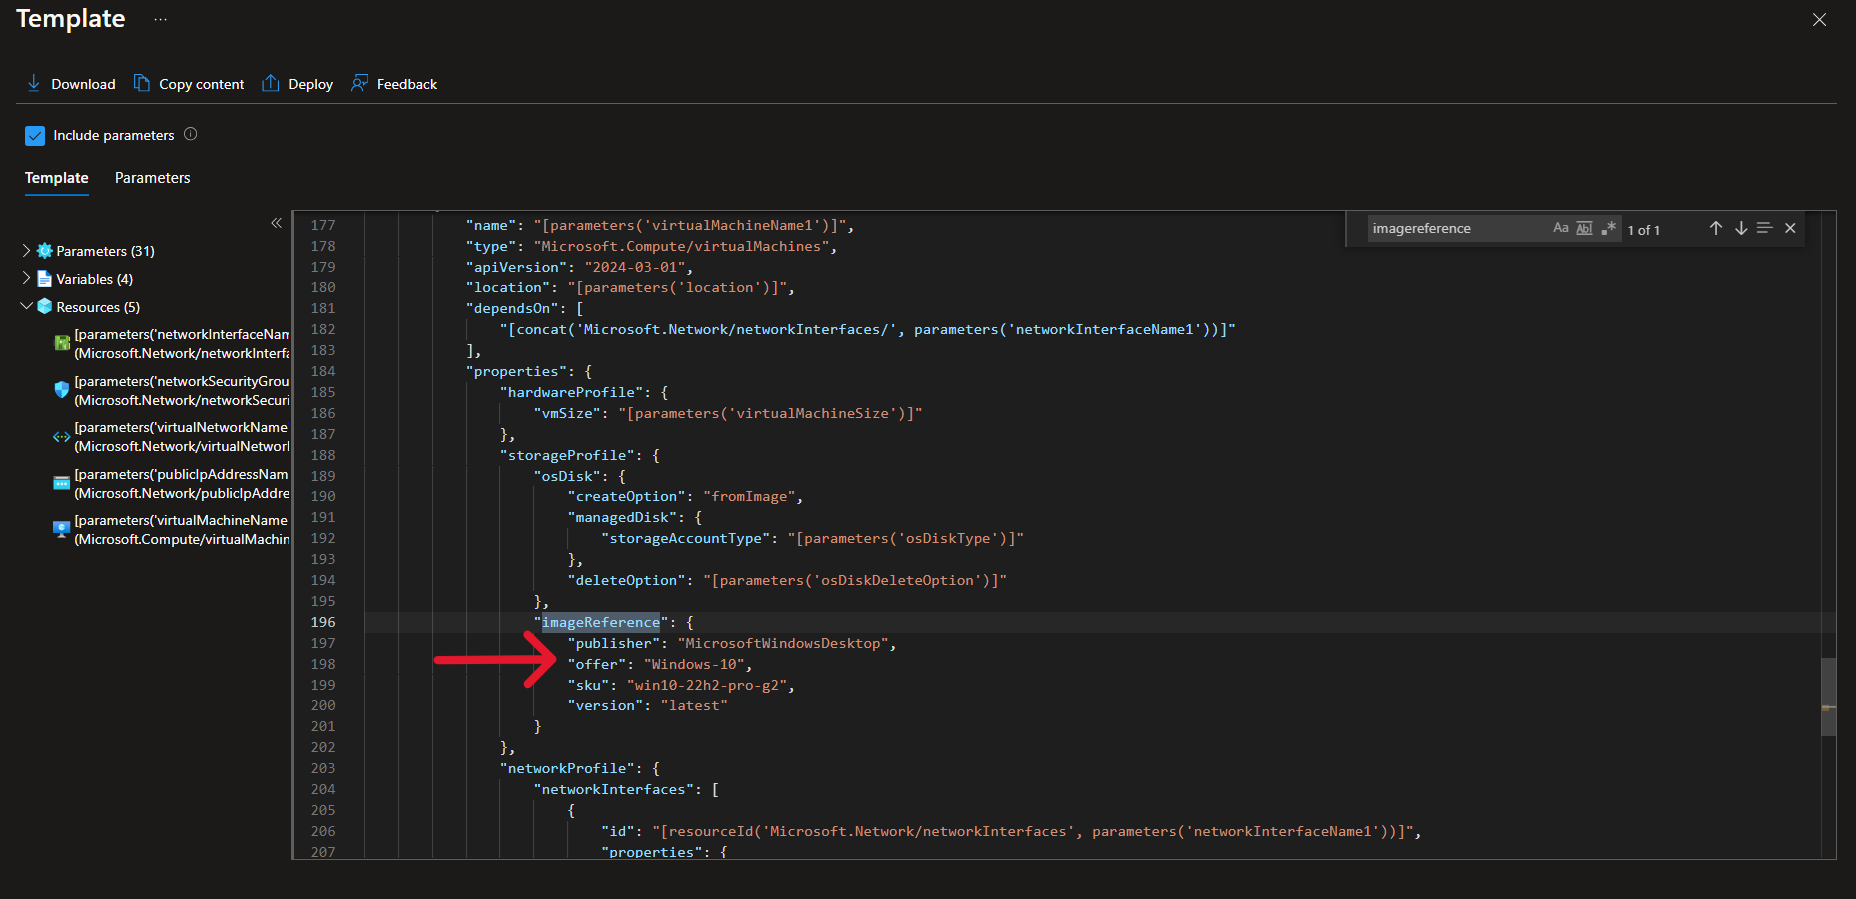
我们不必把这个 vm 真正的创建出来,仅仅设定到 review 界面,就可以看到右下角存在 Downlaod a template for automation 点击进入
来到这个界面,直接 ctrl + F 查找 imagereference 就能看到
VM size
可以看这篇文档
Windows virtual machine
azurerm_windows_virtual_machine | Resources | hashicorp/azurerm | Terraform | Terraform Registry
关于 widnows vm 还有一个需要注意的地方,那就是 compute_name 如果你不主动设定,那么就会默认使用 name 中提供的值
computer_name- (Optional) Specifies the Hostname which should be used for this Virtual Machine. If unspecified this defaults to the value for thenamefield. If the value of thenamefield is not a validcomputer_name, then you must specifycomputer_name. Changing this forces a new resource to be created.
但是由于 Windows 对计算机名称(NetBIOS 名称)有 15 字符的限制,这是 Windows 操作系统的历史遗留规范(源于 NetBIOS 和早期 Windows 网络协议)所以,如果你不配置 compute_name 并且你的 name 超过了15个字符,那么就会存在如下报错
1 | |