Git Command Quick Reference

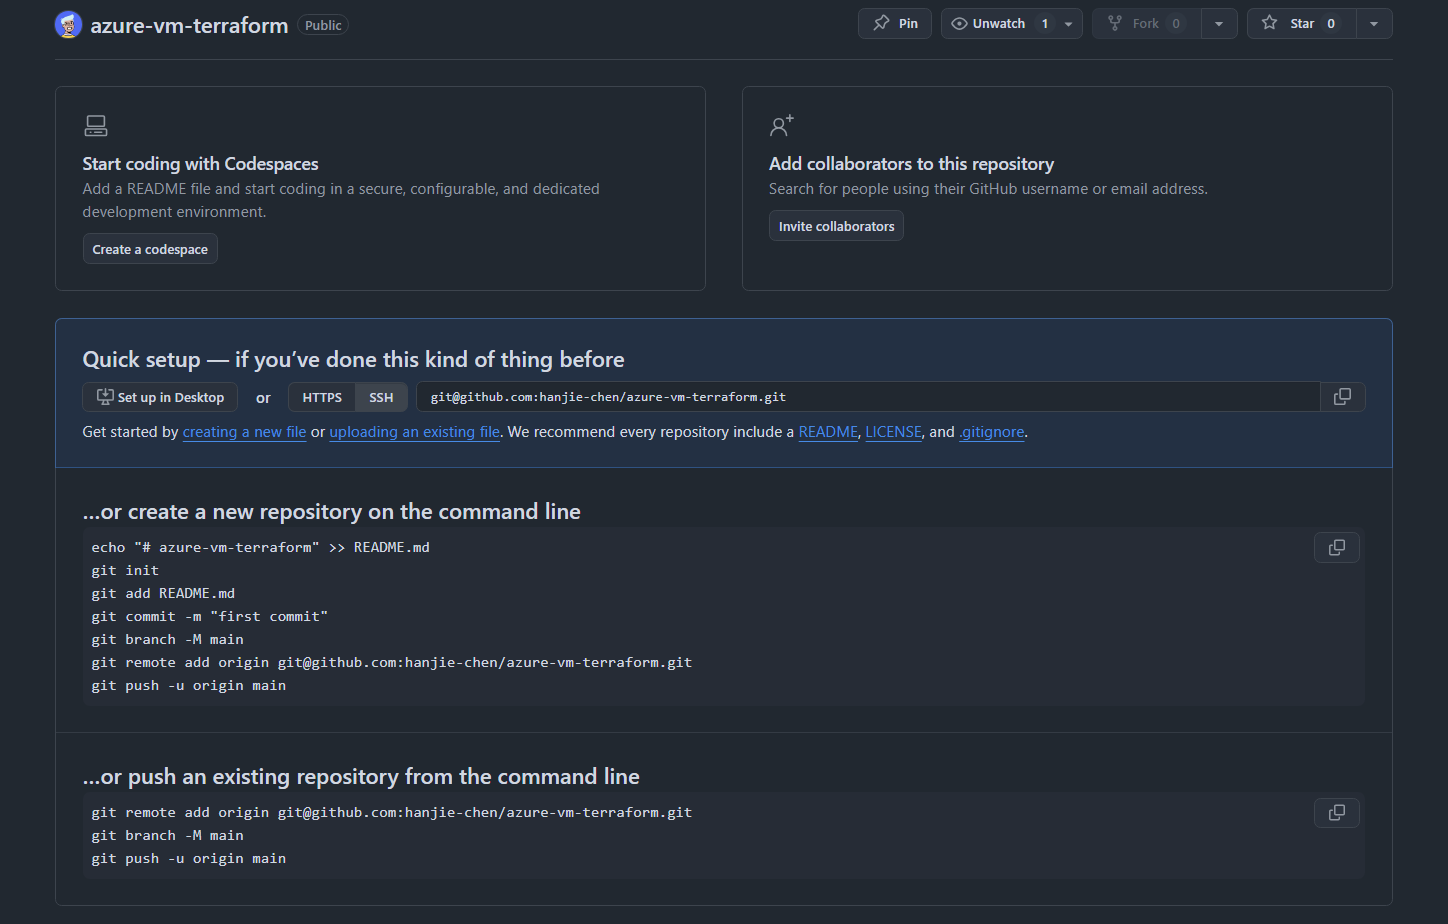
After creating a new repository on GitHub, GitHub will show instructions for what to do next. What we need to do is follow those instructions to initialize the local repository and complete the first push.
Local Workflow
git status
Shows the current status of the repository.
git add
I usually go directly to the project root and run git add . to stage everything. This command adds modified files to the staging area.
git commit
1 | |
Each commit records who changed what and when, and lets you return to that state later.
commit id
- After each successful commit, Git generates a unique 40-character hexadecimal string, called a SHA-1 hash, as the ID of that commit.
- Even changing a single space will completely change the SHA ID.
- When running commands or rolling back in DevOps workflows, you usually only need the first 7 characters of the SHA, such as
a1b2c3d, to identify the commit precisely.
View commit history and the corresponding SHA IDs:
1 | |
If you forget the details of the last commit, you can use:
1 | |
By default, this command shows the content of HEAD, which is the latest commit on the current branch. You can also append a specific SHA ID to view a historical commit: git show <SHA>
git add + git commit
For tracked files: if these files were only modified and no new files need to be added, you can directly use git commit -a -m "message" to commit the changes. This command automatically commits modifications to all tracked files, without requiring a manual git add first.
For new files: you need to use git add to add them to the staging area, because Git only tracks files that have already been added to version control by default. New files must be added with git add before they are tracked. In this case, you can use:
1 | |
Remote Sync
git push
Pushes local content to GitHub for synchronization.
first push of a new branch
If this is a newly created local branch, meaning the remote repository does not yet have this branch, and you are pushing it to the remote repository for the first time, you need to include the -u parameter:
1 | |
This command does two things:
- Creates the branch remotely: creates a new branch with the same name in the remote repository, such as GitHub, and uploads the code.
- Sets up the upstream relationship: binds the local branch to the remote branch.
If you do not include -u, and only use git push origin <branch-name>, Git can still create the branch remotely, but it will not set up the default upstream relationship. This means future pushes cannot simply use the shorter git push; Git will report an error because it does not know which remote branch the local branch should be pushed to.
push rejected
Sometimes when running git push, you may encounter an error like this:
1 2 3 4 5 6 7 8 9 | |
This means the remote repository already has commits that your local repository does not have, so you need to run git pull first to sync the latest changes.
git pull
Corresponding to git push, git pull is used to synchronize the latest changes from a remote repo, such as GitHub, to your local repository.
Suppose we develop the same project on multiple machines, such as an Azure VM, local PC, and MacBook Pro. If we run git push on one machine, the other machines need to run git pull so their local code can catch up with the latest remote state.
By default, running git pull on a branch only updates the current local branch. It does not automatically update other branches, though it usually refreshes information about remote-tracking branches.
how git pull works
More precisely:
git pull = git fetch + git merge
- git fetch: gets the latest commit from the current remote branch
- git merge: tries to merge that commit into the current local branch
So the current local branch is actually updated. Other local branches do not automatically move forward, but remote-tracking branch information is usually refreshed.
divergent branches
When the latest code on the remote, such as GitHub, has been modified, and the local code has also been modified and committed with git add + git commit.
Even if the modifications do not conflict, when we run git pull locally, the following message appears:
1 2 3 4 5 6 7 8 9 10 11 12 13 14 15 16 17 18 19 20 21 22 | |
Git is asking for your preference: since both the remote branch on GitHub and the local branch have different new commits, how do you want to combine them?
We can use rebase to “move” your local commits after the remote commits.
Run this inside your repository directory:
1 2 | |
This does two things: first pulls the remote updates, then replays your local commits one by one after the latest commit on origin/main. If there are no conflicts, it succeeds directly.
After it succeeds, run git push again.
Git State Flow
To understand what the previous commands do, you can first think of Git as several different state areas.
1 2 3 4 5 | |
Working Directory: where you edit filesStaging Area: the area prepared for commit after runninggit addLocal Repository: the content saved in the local repository after runninggit commitRemote Repository: the content saved on the remote after runninggit push
From this perspective, git add, git commit, and git push each move content one layer forward, while git pull synchronizes the latest state from the remote repository back to local.
Branch Management
List Branches
View local branches:
1 2 | |
View remote branches:
1 2 3 4 | |
View all branches, both local and remote:
1 2 3 4 5 | |
Note
After git clone, Git brings the remote repository’s branch information to local, but by default it only checks out the remote repository’s default branch, usually main.
So when you run git branch, you usually only see the main branch, while git branch -r shows the remote branches.
Switch Branch
The git checkout <branch-name> command first looks for a local branch named branch-name. If it finds one, it switches to that branch.
If no local branch is found, it looks for a remote branch named branch-name. If it finds one, it creates a local branch with the same name, sets up the tracking relationship, and then switches to the new local branch.
e.g.
1 2 3 4 5 6 7 8 9 | |
Create Branch
The git checkout -b <branch-name> command creates a new branch and immediately switches to it. If the branch already exists, Git reports an error.
This command is actually shorthand for git branch <branch-name> followed by git checkout <branch-name>.
The new branch is based on the branch you are currently on. For example, if you are currently on main, then the new branch branch-name will be created based on main.
First Push to Remote
After creating a branch, it only exists locally. The remote does not yet have this branch, so the first push needs to use the following command to push it to the remote:
1 | |
If you think writing the branch name every time is too troublesome, you can configure Git’s push behavior:
1 | |
After this setting, whenever you run git push, Git automatically pushes to a remote branch with the same name, creating it if it does not exist.
Parallel Branch Work
Suppose we run into this situation:
We are developing on the main branch and talking to a coding agent, such as Codex or Claude Code. This agent may run for a long time, so we do not need to watch it constantly.
But at the same time, what if we want to inspect or modify something on another branch, such as k8s-lab?
If two sessions share the same Git working directory, then running this directly in the current directory:
1 | |
will switch the files in that directory to the state of the k8s-lab branch. As a result, the working directory that the agent session running on the main branch depends on will also change, which may disrupt its context or runtime environment.
Note
This also explains why tmux does not truly solve this problem.
tmux only opens multiple terminal sessions. If these terminals all operate on the same Git directory, then once git checkout is run in one terminal, the directory state seen by the other terminals also changes, because they share the same working directory.
This is where the git worktree command can be used.
It creates another independent working directory under the same Git repository, and usually checks out that directory to a specific branch.
For example:
1 2 3 | |
This means:
- the
website/worktree is currently checked out onmain - the
website-k8s/worktree is currently checked out onk8s-lab
So one coding agent session can continue running on the main branch.
Meanwhile, we can enter another worktree to inspect or modify code on the k8s-lab branch without affecting the former.
You can understand worktree as expanding a branch into an independent working directory.
In the earlier Git State Flow, Working Directory means “where you edit files”; git worktree can be understood as allowing the same repository to have multiple independent Working Directories at the same time.
Note
By default, the same branch cannot be checked out into two worktrees at the same time.
Usage:
Create a new worktree:
1 | |
- Creates a new directory at
../website-k8s - Checks out that directory to
k8s-lab
That is, git worktree add <path> <branch>.
View the worktree list:
1 | |
Remove a worktree:
1 | |
If this worktree still has uncommitted changes, Git may refuse to remove it by default.
Merge Branch
When we develop on a branch and the work is mostly done, for example a feature is complete or development has reached a certain stage, we can synchronize the content developed on that branch back to main.
The steps are as follows.
First switch to the main branch:
1 | |
Merge the branch content into main:
1 | |
Push the updated main branch to the remote repository, if there is one:
1 | |
Delete Branch
After a branch has finished development and been merged into main, we can delete it to keep the repository clean.
First, delete the local branch.
Delete Local Branch
Use the -d option, lowercase d, to safely delete a branch that has already been merged into the current branch:
1 | |
For example: git branch -d backend-development
If the branch has not been merged yet, Git warns you and prevents deletion.
Force delete a local branch:
If you are sure you want to delete an unmerged branch, you can use the -D option, uppercase D, to force deletion:
1 | |
Note
Using git branch -d <branch-name> only deletes the local branch. It does not affect the branch on the remote repository, such as Remote/GitHub, at all.
Next, delete the remote branch.
Delete Remote Branch
Use the following command:
1 | |
Rollback
git restore
If you modified a file but have not run git add, e.g.
1 2 3 4 5 6 7 8 9 10 | |
In this case, rolling back the change is very simple. You can directly use the command shown in Git’s prompt:
1 | |
Note that:
- This operation directly discards all modifications to compose.yml.
- This operation cannot be undone, so confirm that you really want to discard these changes before running it.
If you want to inspect exactly what changed before rolling back, use:
1 | |
This lets you see the specific modifications before deciding whether to roll them back.
If the modifications have already entered the staging area, git restore <file> is no longer enough. You need to handle staged changes in another way.
git reset
git reset is used to move the current state back to a certain point.
reset to last commit
If you only want to discard local modifications that have not been committed, use:
1 | |
Where:
HEADpoints to the latest commit on the current branch--hardmeans resetting both the Working Directory and the Staging Area
So this command clears changes in the working directory and staging area, but it does not move the local branch back to an earlier commit.
reset to remote branch
If you want to discard all local modifications and local commits, keeping only the latest state from the remote repository, use:
1 2 | |
Where:
git fetch origingets the latest state from the remote, but does not automatically merge itorigin/mainpoints to the latest position of the remote repository’smainbranchgit reset --hard origin/mainforcibly resets the current branch to the state of the remote branch
This means it clears:
- modifications in the Working Directory
- modifications in the Staging Area
- local commits in the Local Repository that have not yet been pushed
rollback scope
1 2 3 4 5 6 | |
Remote Repository
Clone Repository
If we want to clone a remote repository locally, we can use the git clone [url] command. e.g.
1 | |
This command creates a folder with the same name locally, then downloads the contents of the remote repo into it.
1 2 3 4 5 6 7 8 9 10 | |
Note
For now, you can understand this as downloading the remote repository locally, but it is more complete than a normal download because it also includes Git history and repository information.
If we want to specify the folder, we can add the folder path directly at the end of the git clone command. e.g.
1 | |
Note
If the target directory already exists, it usually must be empty.
Shallow Clone
Sometimes, we only need to download the current code of a repo, such as for a knowledge base repo, and do not need the repository’s history. We can use this command to fetch only the current content:
1 | |
The default git clone downloads all historical changes from the “first line of code” to the “current code.”
--depth 1 tells Git: “I only want the state of the latest commit. I do not want any earlier history.”
This can reduce storage pressure caused by historical changes.
HTTPS vs. SSH
There are two ways to run git clone: one uses HTTPS, and the other uses SSH. e.g.
1 2 | |
The difference between these two methods is the authentication method:
- HTTPS: when you need to run
git push, extra authentication is required, such as browser login or a token - SSH: depends on a local SSH key and GitHub public key configuration
In general, choose the second method: configure an SSH key and use Git over SSH.
Manage Remote
View Remote
You can use the following command to view the remote URL associated with the current Git repository:
1 | |
After running this command, you will see output similar to this:
1 2 | |
Here, origin is the default remote name, followed by the URL of the remote repository. If you have multiple remote repositories, they will all be listed here.
Change Remote URL
If the repository name on GitHub has changed, or if you want to switch the remote from HTTPS to SSH, you can use the following command to modify the remote repository URL:
1 2 3 | |